Raspberry Pi and Digital Signage
The Pi
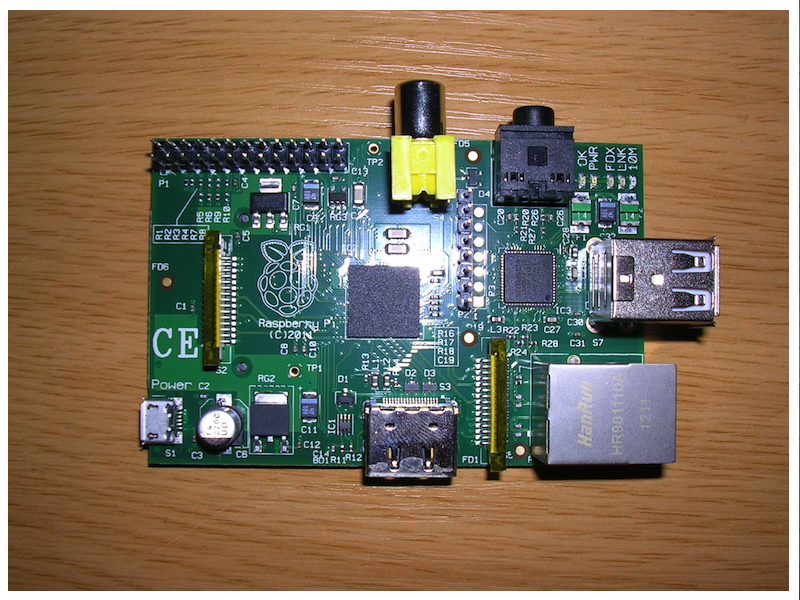
My friend Panagiotis Palias ordered two Raspberry Pi boards some time ago. He was kind enough to allow to play with one of them.
The Pi is an amazing device that can be used for a many projects. It can be used as a home server, as a thin client, etc. The installation of Raspbian is very easy using the available tools.
Digital Signage
The featured GPU and the HDMI output, can turn this little ARM board, into a fine Digital Signage stand-alone node. There are a dozen of open source solutions for the Raspberry. Almost all of them are in beta stage, none of them is currently marked as stable.
I choose to use screenly-ose. Screenly is is the open source version of a digital signage software specifically developed for the Pi. The software is written in Python and works pretty well! It supports videos, images and can display websites, which means that you can serve dynamic content easily through websites.
In order to display HD videos, the Pi needs to make use of it’s GPU. The only player currently supporting Pi’s chipset by taking full advantage of the available GPU is omxplayer. It supports only MP4 videos. I lost some time playing with omxplayer to find out that doesn’t support streaming via https, supports only http protocol.

Requisites
In order to setup a full-featured Digital Signage system you need:
- A Raspberry Pi
- HDMI cable
- TV (32" inches or more is better)
- USB keyboard (the mouse is not necessary)
- A USB cable that sends 5V and 700 mA to the Pi
- A class 10 SDHC card 4 GB or higher
- Web hosting or local server to serve http, if you plan to display MP4 video
- A Dropbox account if you plan to display images
- A heroku account if you plan to serve dynamic content
My setup
The installation of Raspbian Pi and screenly-ose is pretty much straight forward for a GNU/Linux geek. The headache starts when you try to configure the TV screen in order to use the entire TV space and not just ¾ of it. It takes some experimentation because there are no available codes out there for all known TV models, nor there’s a way for software to auto-adjust the over-scan apparently.
There is an ncurses-menu, for some basic configuration on the first boot. I added the Greek locale, shared the memory by 256 between the CPU and the GPU and added some details about my screen such as screen side (16:9) and PAL version. After messing up with the other options I used the defaults.
The screen calibration was not 100% accurate, but I was able to use almost 100% of the available screen by adjusting all images to ‘1600x620’ pixels.
Screenly works by fetching data and display it. It doesn’t cache the data locally. There is a version (fork) that uses cache on the Pi forums, but didn’t notice any improvement over the original version which fetches data. So I put all my pictures into my dropbox public folder and start sharing.
For videos I used http hosting, as I was not able to find a service similar to dropbox that does not use https.
The last issue to address was displaying the weather and info about which pharmacy is open at night in my city. I wrote a very simple application that displays the weather and open pharmacy at night in my town. With a little bit of CSS3 skills this could be turned into something very good looking, but it works fine as is. There’s no actual limitation on the dynamic content you can serve using this approach. My limit is my lame CSS skill and the lack of will to improve it in the foreseeable future.
I also installed OpenVPN to make it easily accessible since it will sit behind a secured lan.
Thoughts and epilogue
The Pi is an excellent solution for digital signage. Compared to professional DS systems, lacks the possibility to display channels but you can’t beat the price. Channels might be added in the future, by taking advantage of the GPU.
The result is so good that I’m thinking of putting a price tag on the system and building DS systems for people who are willing to pay for them in my town. The hardware for professional DS solutions costs from 40 to 100 more.